
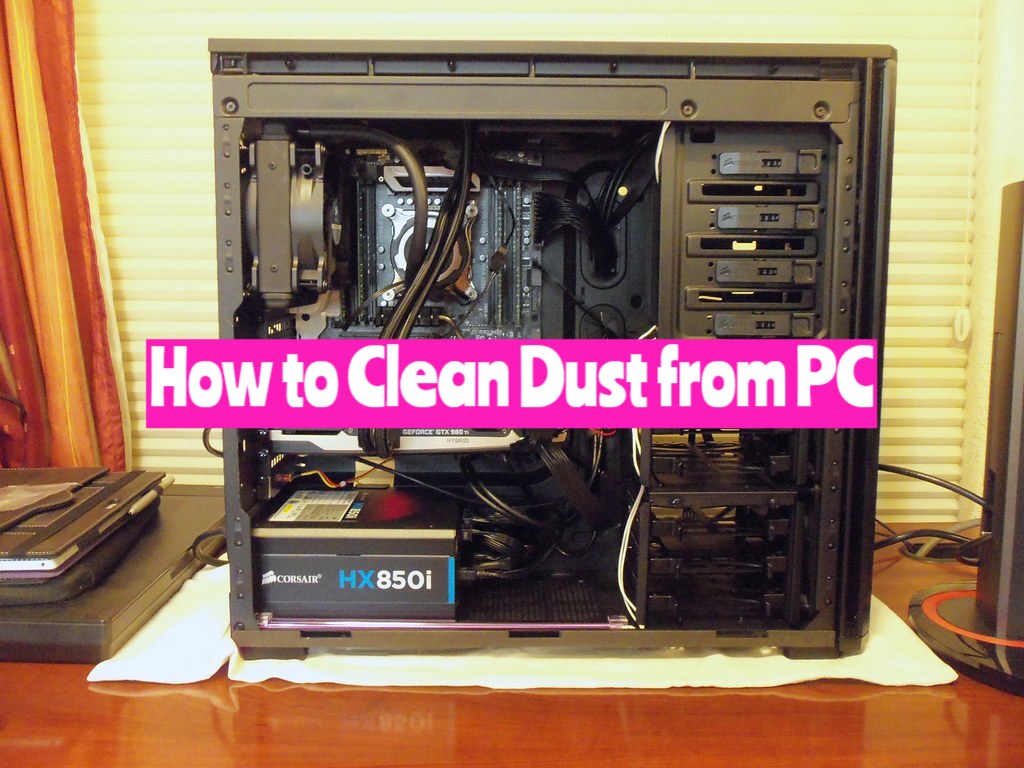
Dust accumulation in your PC can lead to several undesirable issues, such as overheating, performance degradation, and reduced lifespan of your device. Regular cleaning is thus an essential part of PC maintenance, but it can be challenging if you’re unfamiliar with the process. This guide aims to explain the step-by-step process of cleaning dust from your PC. We’ll also include alternative methods for those who lack the typically suggested tool – compressed air.
Necessary Tools
First, gather your tools. Besides a screwdriver to open your PC case, consider having these on hand:
- Can of compressed air (if available)
- Anti-static or microfiber cloth
- Cotton swabs
- A small brush (paintbrush or makeup brush would work)
- Vacuum cleaner (sparingly used)
Steps to Clean Dust from Your PC
Step 1: Prepare Your PC
Shut down your PC, unplug it, and detach all peripherals. This precautionary step helps avoid electrical shocks. Using an anti-static band is recommended to prevent static electricity buildup that could damage your PC’s components.
Step 2: Open the PC Case
Remove the side panel of your PC case using a screwdriver. Most PCs have screws at the back of the case holding the panel in place.
Step 3: Dust Removal
Start by cleaning the case fans. If you have compressed air, use it while holding the fan blades to prevent them from spinning. If compressed air is not available, use a small brush to gently remove dust from the fan blades.
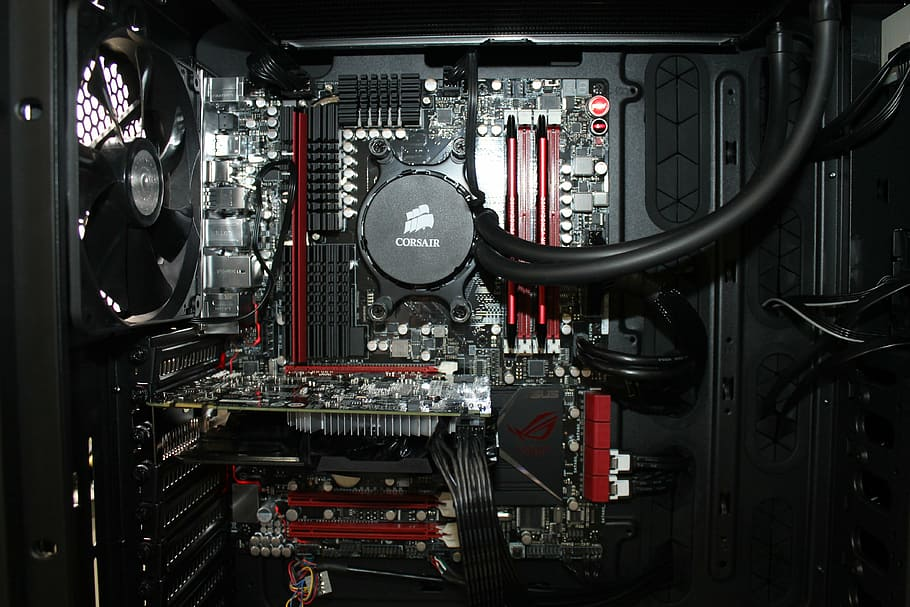
Step 4: Dusting Components
Below outlines how to clean the key parts of your PC:
- Power Supply Unit (PSU): If using compressed air, blow into the PSU exhaust vents. Otherwise, use a cloth to gently wipe the vents.
- Motherboard: With compressed air, lightly blow away dust. Without compressed air, use a small brush to clean carefully, avoiding any forceful contact.
- CPU Cooler: Direct your compressed air or brush to clean the CPU fan and heatsink.
- RAM Slots: Clean these areas gently with either method.
- Additional Fans: Remember to clean other fans (e.g., GPU fans), just like with the case fans.
Step 5: Overall Case Cleaning
Now, clean the interior of your case using an anti-static or microfiber cloth. Be gentle and do not force the cloth into areas that it doesn’t easily reach. For hard-to-reach spots, you can use cotton swabs.
Step 6: Reassemble and Turn On
Once all components are clean, reassemble your PC case, plug your PC back in, and turn it on. You should notice improved efficiency and possibly a quieter operation.
Alternatives to Compressed Air
If compressed air is not available, a small paintbrush, makeup brush, or even cotton swabs can act as your primary cleaning tools. However, always remember to be gentle. Additionally, a vacuum cleaner can help but should be used sparingly due to the potential risk of static buildup.
Conclusion
Maintaining a clean, dust-free PC ensures its longevity and optimal performance. With this guide, you can now confidently tackle dust buildup, even without compressed air. Regularly cleaning your PC, ideally every three to six months, is a small effort to reap significant benefits: efficient and smooth computing for many years to come!